Transform your kitchen into a chocolate haven with this easy-to-follow guide on crafting the luxurious Dubai chocolate bar. Unleash your creativity while enjoying the rich flavors of this iconic treat.

Imagine the bliss of biting into a rich, decadent chocolate bar infused with the exotic flavors of Dubai. The crunch of roasted nuts, the sweetness of dried fruits, and the subtle hint of saffron or cardamom make this chocolate a masterpiece. You don’t have to travel to the Middle East to enjoy it. You can bring this luxurious dessert into your home with just a few ingredients and patience. Whether you’re a seasoned chocolatier or a beginner looking for a fun project, this guide will help you master the art of making Dubai chocolate bars in no time.
Table of Contents
The Distinctive Charm of the Dubai Chocolate Bar
What sets the Dubai chocolate bar apart from other confections? The answer lies in its luxurious ingredients and cultural inspiration. Renowned for its luxury and innovation, Dubai boasts a culinary scene that reflects its opulence.
Dubai chocolate bars often feature high-quality cocoa paired with Middle Eastern staples like pistachios, dates, and saffron. These ingredients provide a distinct flavor profile, combining the rich decadence of chocolate with the earthy sweetness and subtle spice of local flavors. This balance of indulgence and tradition makes the Dubai chocolate bar a standout dessert you can’t resist recreating.
Ingredients for Dubai Chocolate Bar
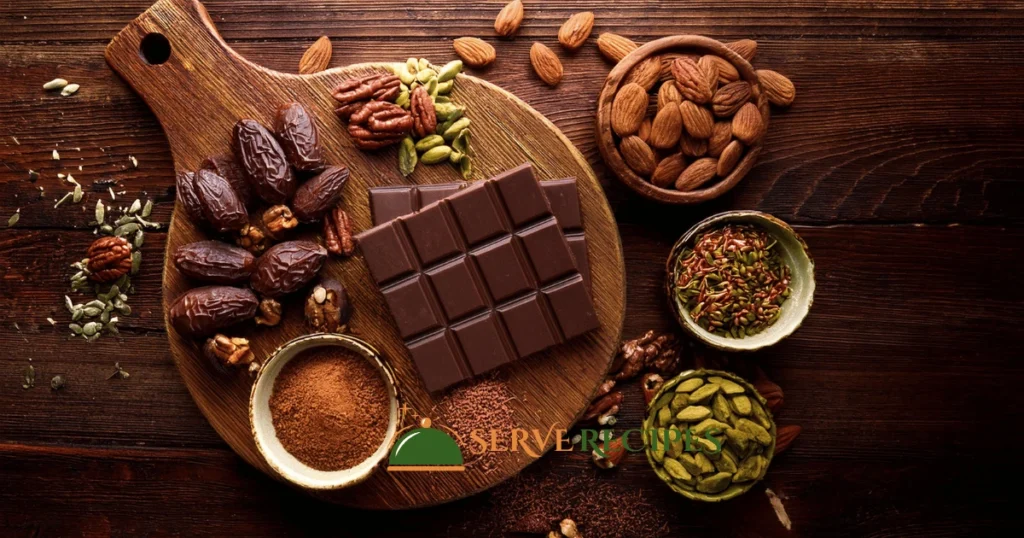
To get started, gather these key ingredients:
- Premium chocolate (200g): Choose dark or milk chocolate for the base.
- Roasted nuts (50g): Pistachios, almonds, or hazelnuts work perfectly.
- Dried fruits (50g): Dates, figs, or apricots add natural sweetness.
- Optional exotic spices: A hint of cardamom or saffron can elevate the flavor.
- Edible gold flakes (optional): For a luxurious finishing touch.
Quality is critical when selecting ingredients. Opt for couverture chocolate for its smoothness and richness, and always use fresh, high-grade nuts and fruits.
Essential Tools You’ll Need
Making Dubai chocolate bars requires something other than professional-grade equipment. Here’s what you’ll need:
- A double boiler or microwave-safe bowl for melting chocolate.
- Silicone molds or a lined baking dish are used to shape the bars.
- A spatula and whisk for smooth mixing.
- A kitchen thermometer for precise temperature control (optional).
Don’t have a mold? No problem! You can use any flat container lined with parchment paper as an alternative.
Step-by-Step: How to Make Dubai Chocolate Bar at Home
Follow these steps to create your own Dubai chocolate masterpiece:
Step 1: Preparing the Ingredients
Before you begin, prep your mix-ins:
- Roast your nuts lightly to release their natural oils and enhance their flavor.
- Chop dried fruits into small, even pieces for easy mixing.
- If using spices, crush them finely to ensure even distribution.

Step 2: Melting the Chocolate
Melting chocolate is an art in itself.
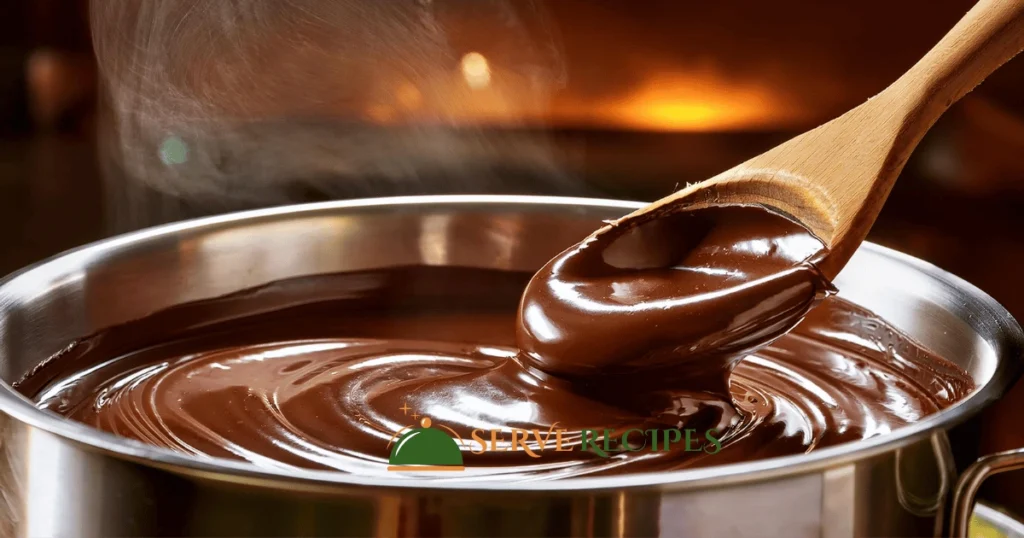
- Use a double boiler: Place chocolate in a heatproof bowl over simmering water, stirring until smooth.
- Alternatively, use a microwave, heating in 30-second bursts and stirring between each interval to prevent burning.

Step 3: Adding the Signature Ingredients
Once the chocolate is melted, it’s time to infuse it with flavor:
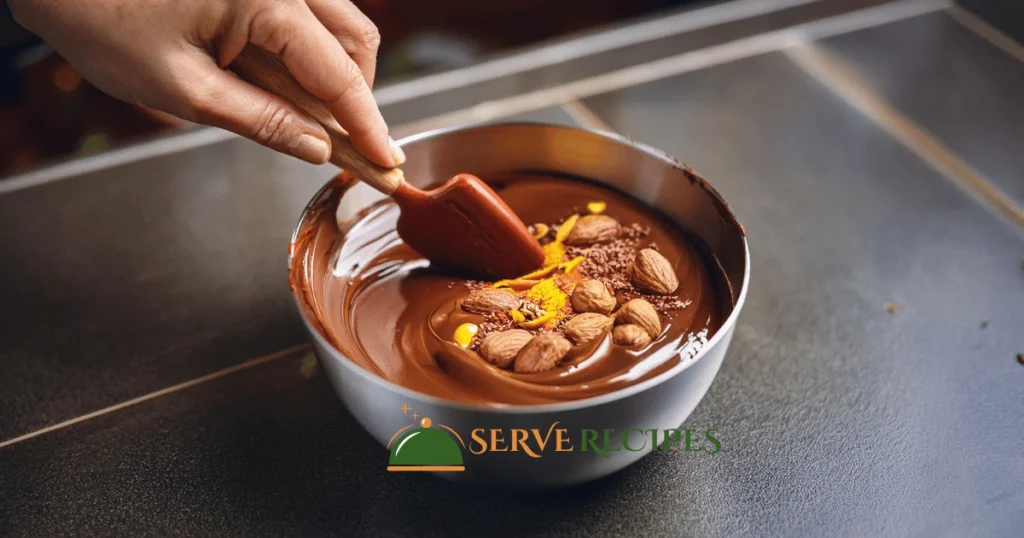
- Mix in the roasted nuts, dried fruits, and spices. Mix gently to ensure even distribution.
- For the best results, remember these tips.

Step 4: Molding and Shaping
Transfer the mixture to your prepped mold or container:
- Tap the mold on the counter to eliminate air bubbles.
- Smooth the surface with a spatula for an even finish.
Step 5: Setting and Final Touches
Place the mold in the refrigerator for about 30 minutes or until the chocolate hardens.
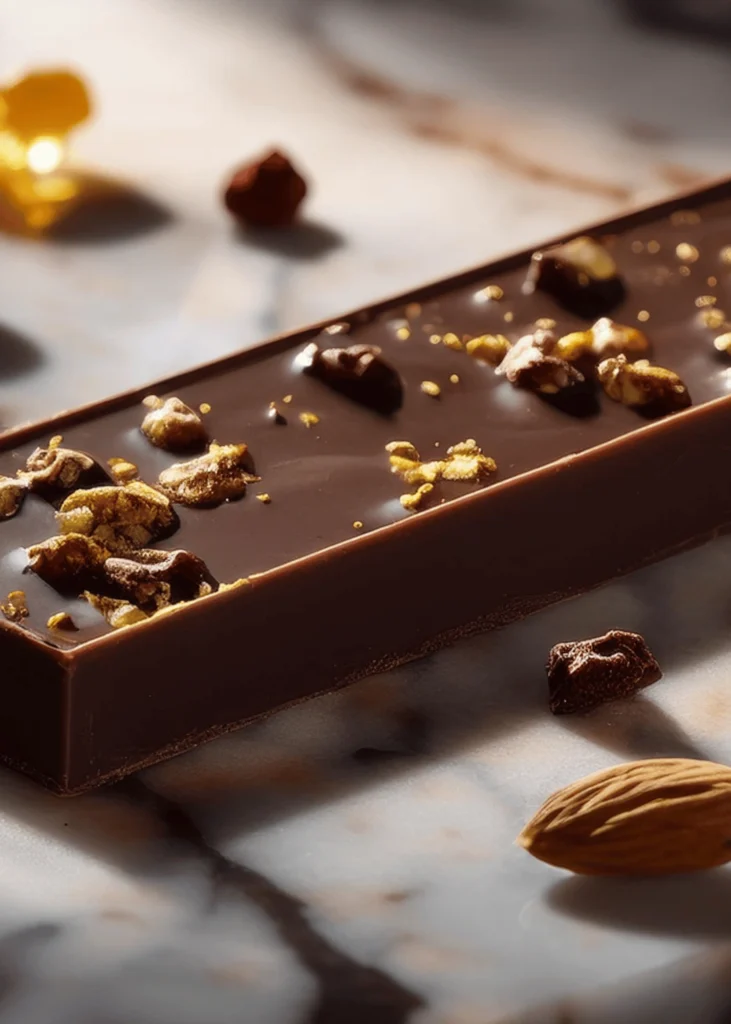
- Once set, remove from the mold and decorate with edible gold flakes for that signature Dubai flair.
Customizing Your Dubai Chocolate Bar
One of the best things about making Dubai chocolate bars at home is the ability to customize them. Here are some ideas:
- Sweetness level: Add dark and milk chocolate to adjust the sweetness.
- Dietary preferences: Swap traditional chocolate for vegan options or keto-friendly varieties.
- Flavor twists: Add rosewater, orange zest, or even a sprinkle of sea salt for a unique spin.
Tips for Perfect Homemade Chocolate Bars
Keep these tips in mind to guarantee success:
- Control temperature: Avoid overheating chocolate; keep it below 45°C (113°F).
- Mix thoroughly: Ensure nuts and fruits are evenly distributed to avoid clumps.
- Storage matters: Keep your chocolate bars in a cool, dry place to maintain their texture and flavor.
Serving Suggestions
Your homemade Dubai chocolate bars deserve to be presented beautifully. Here are a few ideas:
- Gifts: Wrap individual bars in decorative foil and ribbons for special occasions.
- Pairings: Serve with Arabic coffee or mint tea for an authentic experience.
- Dessert platter: Arrange alongside baklava, dates, or other Middle Eastern treats.
Why Make Dubai Chocolate Bar at Home?
Making your own Dubai chocolate bars has its perks:
- Healthier choices: Control the ingredients for a guilt-free indulgence.
- Cost-effective luxury: Save money while enjoying a premium treat.
- Creative outlet: Experiment with flavors and designs to make each batch unique.
Luxurious Dubai Chocolate Bar
Course: DessertCuisine: Middle EasternDifficulty: Easy6
servings10
minutes10
minutes250
kcalThis simple recipe lets you create your own decadent Dubai chocolate bar at home. It’s a luxurious treat packed with roasted nuts, dried fruits, and exotic spices, perfect for gifting or indulging.
Ingredients
200g premium dark or milk chocolate
50g roasted pistachios (or almonds/hazelnuts)
50g dried fruits (dates, figs, or apricots)
1/4 tsp ground cardamom or saffron (optional)
Edible gold flakes (optional, for garnish)
Directions
- Prepare Ingredients:
- Chop the dried fruits and roast the nuts lightly for enhanced flavor.
- Melt the Chocolate:
- Use a double boiler or microwave to melt the chocolate until smooth.
- Stir constantly to prevent burning.
- Mix the Ingredients:
- Add roasted nuts, dried fruits, and spices to the melted chocolate. Stir until evenly combined.
- Mold the Chocolate:
- Pour the mixture into silicone molds or a parchment-lined baking dish. Tap gently to remove air bubbles.
- Chill and Set:
- Refrigerate for 30 minutes or until fully set.
- Decorate:
- Once hardened, remove the chocolate bars from the mold and garnish with edible gold flakes if desired.
Notes
- Use high-quality couverture chocolate for a professional finish.
- To make the recipe vegan, use dairy-free chocolate.
- Store in an airtight container in a cool, dry place for up to two weeks.
More Recipes You’ll Love:
Frequently Asked Questions
How do I store homemade Dubai chocolate bars?
Keep your chocolate bars in an airtight container in a relaxed, dry environment. Only refrigerate if needed, as it may lead to condensation.
Can I substitute the nuts or dried fruits?
Absolutely! Use your favorite nuts or fruits to match your preferences. Cashews, cranberries, or even candied orange peels work well.
Do I need a particular mold to make these chocolate bars?
No, a simple baking dish lined with parchment paper works just as well.
What’s the best type of chocolate to use?
Couverture chocolate is ideal for its high cocoa butter content and smooth texture, but high-quality chocolate will work.
Can I make a vegan version?
Yes! Use dairy-free chocolate and avoid non-vegan add-ins like honey.
Is tempering chocolate necessary?
Tempering is optional but highly recommended for a glossy finish and a satisfying snap.
Conclusion
Making a Dubai chocolate bar at home isn’t just about the end product—it’s about the joy of crafting something special with your own hands. This step-by-step guide allows you to bring the luxurious flavors of Dubai into your kitchen. So grab your ingredients, let your creativity flow, and treat yourself to a homemade dessert that’s as indulgent as rewarding.
Have you tried making your own Dubai chocolate bar? We’d love to see your creations and hear your ideas—share them in the comments! Don’t forget to bookmark this guide for future reference or share it with friends who love chocolate as much as you do.
