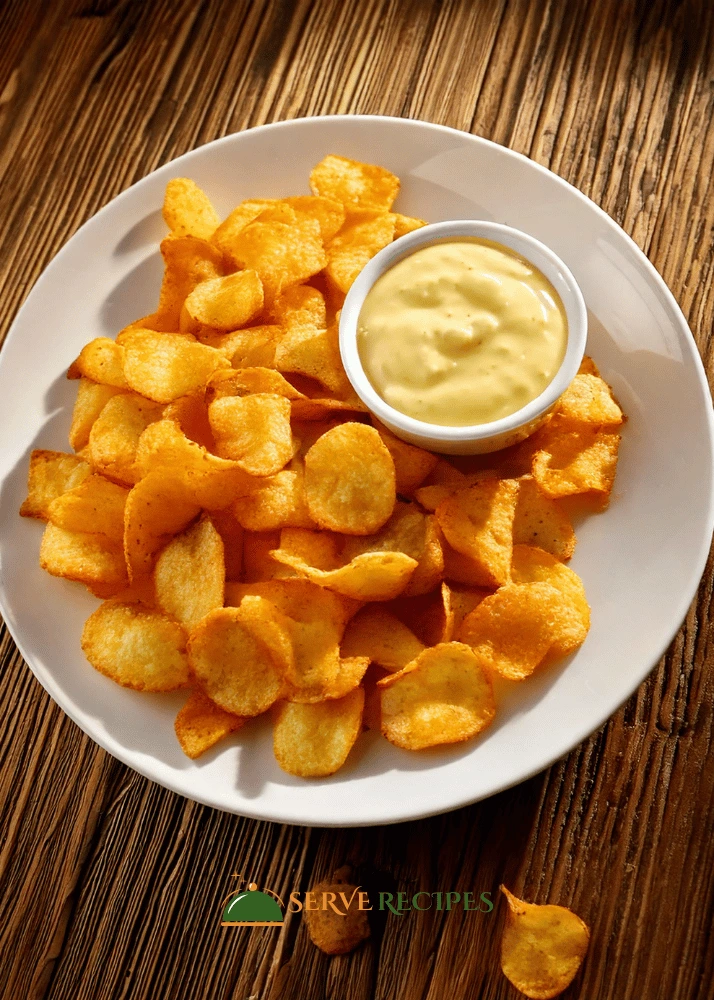
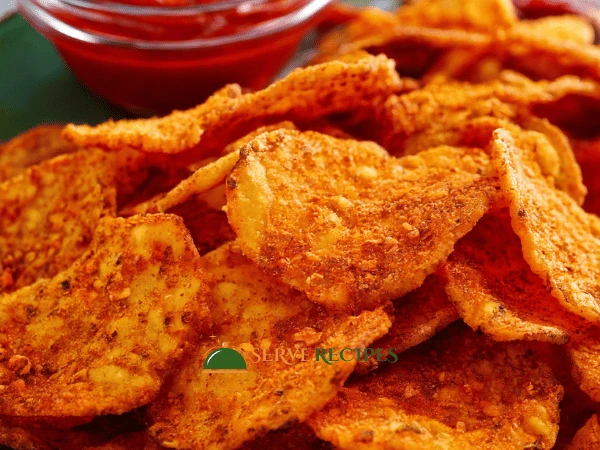
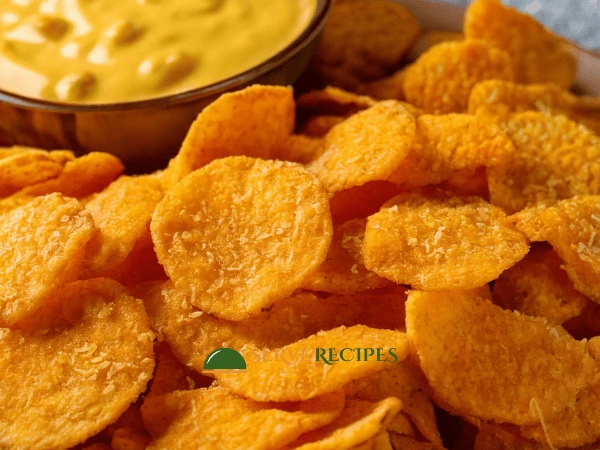
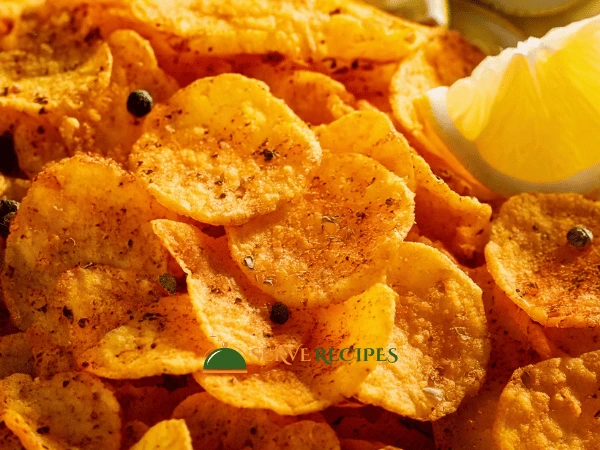
Chickpea chips are a delightful and healthy alternative to store-bought snacks, offering a crunchy texture and satisfying flavor that appeals to all ages. Whether you’re trying to curb your chip cravings or looking for a gluten-free, protein-packed option, these homemade chickpea chips are an absolute must-try! Packed with nutrients and easy to customize, they can be made to suit various tastes and dietary needs.

Why You’ll Love This Recipe
- It’s healthy and protein-packed: Chickpeas are a fantastic source of plant-based protein and fiber, making these chips both nourishing and satisfying.
- Easy to customize: You can switch up the spices and flavors to create your perfect snack. From spicy to herby, the possibilities are endless!
- Quick and simple: With minimal prep and a short cooking time, these chickpea chips come together in just 30 minutes, making them perfect for a last-minute snack.
Key Ingredients and Substitutions
- Chickpeas: The star of the show! You can use canned chickpeas for convenience, but if you prefer, you can soak and cook dried chickpeas for a fresher taste.
- Olive Oil: This adds to the crunchy texture and aids in the spices’ adhesion to the chickpeas. You can substitute it with avocado oil or even coconut oil for a different flavor profile.
- Spices: Smoked paprika adds a rich, smoky depth to the chips, while garlic and onion powder enhance the savory notes. Feel free to experiment with other seasonings like cumin, curry powder, or chili flakes, depending on your taste preferences.
How to Make Chickpea Chips (Step-by-Step)
Making chickpea chips is super easy and doesn’t require any special equipment beyond a baking sheet and an oven. Here’s a more detailed look at the process to ensure perfect results every time:
Step 1: Preheat Your Oven: To achieve the ideal crispiness, it’s crucial to preheat your oven to 375°F (190°C). This temperature ensures the chickpeas bake evenly without becoming too dry or too soft.
Step 2: Dry the Chickpeas Thoroughly. After rinsing your canned chickpeas, pat them dry with a kitchen towel. Your chips will be crispier if you eliminate more moisture. Moist chickpeas lead to soggy results, which is something you want to avoid.
Step 3: Season the Chickpeas: Toss the chickpeas in olive oil and your chosen seasonings, ensuring that each one is well-coated. This helps lock in the flavor and promotes even baking.
Step 4: Bake to Perfection: Line the baking sheet with an even layer of chickpeas. Halfway through cooking, shake the pan to ensure all the chickpeas bake uniformly and to avoid any sticking for the best crispiness.
Step 5: Cool Before Serving: After baking, allow the chickpeas to cool slightly before serving. This lets them crisp up even more as they cool.
Expert Tips for Success
- Dry the chickpeas well: This is the key to getting the crispiest results. After rinsing, make sure you blot them with a towel until they are as dry as possible.
- Use parchment paper: This prevents the chickpeas from sticking to the pan and makes cleanup a breeze.
- Keep an eye on them: Every oven is different, so it’s a good idea to check your chickpeas a few minutes before the timer goes off. It doesn’t take long for chickpeas to go from perfectly crispy to scorched!
Variations and Customizations
If you’re looking to switch things up or cater to specific dietary preferences, here are a few ideas to customize your chickpea chips:
- Spicy Chickpea Chips: Add a teaspoon of cayenne pepper or red chili flakes to the seasoning mix for an extra kick.

- Herb-Infused Chickpea Chips: Mix in some dried herbs like rosemary, thyme, or oregano for a fragrant twist.

- Cheesy Chickpea Chips: For a dairy-free cheesy flavor, try adding a tablespoon of nutritional yeast to the seasoning. This gives the chips a slightly nutty, cheesy taste without any actual cheese.

- Lemon and Pepper Chickpea Chips: Brighten the flavor by adding fresh lemon zest and a bit of extra black pepper after baking.

Storage and Reheating Instructions
Chickpea chips are best enjoyed fresh, but if you have leftovers (or want to make a big batch ahead of time), you can store them for a few days.
- Storage: Keep your chickpea chips in an airtight container at room temperature for up to 3-4 days. If they lose their crispiness, you can pop them back in the oven at 350°F for about 5 minutes to restore their crunch.
- Reheating: Simply reheat the chickpea chips in the oven at 350°F (175°C) for 5-7 minutes or until they’re crispy again. Avoid microwaving as this tends to make them soft rather than crisp.
Serving Suggestions
These chickpea chips are fantastic on their own, but if you’re looking to elevate them, here are some great pairing ideas:
- Serve with dips: Hummus, guacamole, or tzatziki are perfect companions for these crunchy snacks.
- Pair with a salad: Use the chickpea chips as a crunchy topping for salads, adding both flavor and texture.
- Snack platter: Add them to a healthy snack board with veggies, cheeses, and other crunchy treats for a well-rounded and tasty platter.
Crispy Chickpea Chips
Course: IngredientsCuisine: AmericanDifficulty: Easy4
servings10
minutes20
minutes16
kcalThis crispy, golden chickpea chips are a healthy snack that’s easy to make, full of flavor, and perfect for dipping.
Ingredients
1 can of chickpeas (drained and rinsed)
1 tablespoon olive oil
1 teaspoon smoked paprika
½ teaspoon garlic powder
½ teaspoon onion powder
½ teaspoon salt
¼ teaspoon ground black pepper
For a spicy kick, add ½ teaspoon of cayenne pepper if desired.
Directions
- Preheat your oven: Preheat the oven to 375°F, or 190°C. Line up the baking sheet with the parchment paper.
- Prepare the chickpeas: To get the chickpeas ready, pat them dry with a paper towel to get rid of any extra moisture. The chips will become crispier the dryer they are.
- Season the chickpeas: Place the chickpeas in a bowl and toss them with olive oil, smoked paprika, garlic powder, onion powder, salt, and pepper. Ensure that the coating of each chickpea is uniform.
- Bake: Line the prepared baking sheet with a single layer of chickpeas. Halfway through the 20 minutes of baking, jiggle the pan to ensure even cooking.
- Cool and enjoy: Take the chickpeas out of the oven and allow them to cool for a few minutes when they are golden and crispy. Serve them warm or at room temperature with your favorite dip, or eat them as-is!
Notes
- Adjust the spices to your liking; cumin or nutritional yeast can add a fun twist!
- If you prefer extra crispiness, let the chickpeas bake for an additional 5-10 minutes, but keep an eye on them to prevent burning.
- Although they are best eaten fresh, these chickpea chips may be preserved for a few days if they are kept in an airtight container.
More Recipes to Try
- Irresistible 5-Step Crab Brulee Recipe (Eggless and Delicious)
- Cottage Cheese Flatbread: A Nutritious and Delicious Recipe {20 minutes}
- Best Rotel Dip Recipe for Game Day {15 minutes}
Frequently Asked Questions
How do I make chickpea chips even crispier?
Make sure your chickpeas are completely dry before seasoning, and bake them a bit longer if necessary. Shaking the pan halfway through also helps with even cooking.
Can I make chickpea chips in an air fryer?
Yes! To air-fry, cook the seasoned chickpeas at 375°F for about 15 minutes, shaking the basket halfway through for even crispiness.
Are chickpea chips gluten-free?
Absolutely! Chickpeas are naturally gluten-free, so this recipe is perfect for anyone following a gluten-free diet.
Can I make chickpea chips without oil?
You can omit the oil, but keep in mind that oil helps achieve a crispy texture. If avoiding oil, try a light mist of cooking spray as a substitute.
Can I store chickpea chips long-term?
While chickpea chips are best eaten fresh, you can store them for a few days in an airtight container. For more extended storage, consider freezing cooked chickpeas and then crisping them in the oven when you’re ready to eat.
Can I use other beans to make chips?
While chickpeas work best for this recipe, you can experiment with other legumes like black beans or lentils, but the texture may vary.
Conclusion
Chickpea chips are a fantastic, healthy alternative to traditional chips, offering the perfect crunch and a burst of flavor. Not only are they quick and easy to make, but they’re also endlessly customizable to suit your taste preferences. Whether you’re snacking solo, serving them at a party, or packing them for a road trip, these chickpea chips are sure to satisfy you.
Try this recipe, and feel free to experiment with the seasonings! Once you experience how easy and delicious these homemade chickpea chips are, you’ll never go back to store-bought snacks again. Happy snacking!
