Introduction
Are you tired of store-bought breadcrumbs that lack flavor and freshness? Making your own homemade panko breadcrumbs is not only easy but also incredibly rewarding. With just a few simple ingredients and minimal effort, you can create panko breadcrumbs that are lighter, crispier, and fresher than anything you can buy at the store.
In this guide, we’ll walk you through 5 simple steps to make perfect homemade panko breadcrumbs. Whether you want to elevate your chicken katsu, add a crunchy topping to your casseroles, or simply want a healthier, additive-free option, this guide has you covered.
Why Make Panko Breadcrumbs at Home?
Control Over Ingredients
When you make panko breadcrumbs at home, you have full control over the ingredients. Many store-bought breadcrumbs contain preservatives, added sugars, or artificial ingredients. By making your own, you ensure that your panko is free from any unwanted additives and tailored to your dietary needs.
Fresher, Better-Tasting Breadcrumbs
Homemade panko breadcrumbs are fresher than those sitting on store shelves for months. Fresh breadcrumbs offer superior texture and flavor, making them perfect for achieving that delicious crunch in your dishes.
Cost-Effective
Making your own panko breadcrumbs is also cost-effective, especially if you have leftover bread at home. Instead of letting it go to waste, you can turn it into a useful kitchen staple.
For more insights into the benefits of homemade ingredients, check out this article on The Benefits of Homemade Bread.
What You’ll Need to Make Homemade Panko Breadcrumbs
Ingredients:
- White Bread: Plain, white sandwich bread without any crusts is the best option for making panko breadcrumbs. It creates the lightest, airiest crumbs. However, feel free to experiment with other types of bread if you prefer.
Equipment:
- Baking Sheet: A large baking sheet is needed to toast the bread evenly.
- Food Processor or Grater: To break down the bread into coarse, flaky crumbs. A food processor speeds up the process, but a box grater works well too.
- Oven: Used to dry out the bread to achieve the right texture for panko.
5 Simple Steps to Make Perfect Homemade Panko Breadcrumbs
Step 1: Prepare the Bread
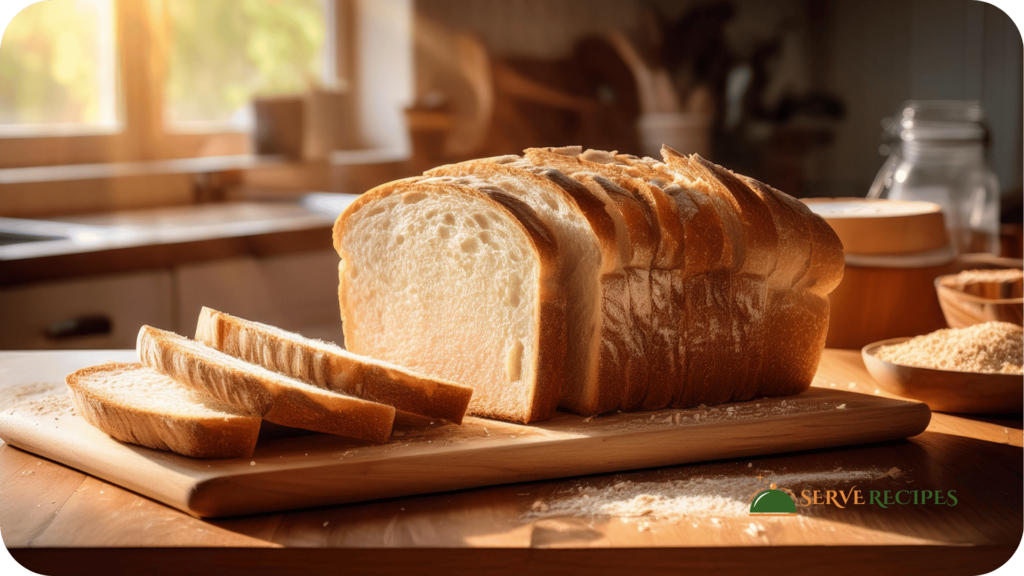
Choose your bread carefully. White bread is ideal due to its neutral flavor and soft texture, but other types can work too. Day-old bread is easier to handle and toasts nicely.
How to Prepare:
- Remove the Crusts: Trim the crusts off your bread slices. The crust is denser and doesn’t produce the light texture that makes panko unique.
- Cut the Bread into Pieces: Tear or cut the bread into small pieces to make them easier to process or grate.
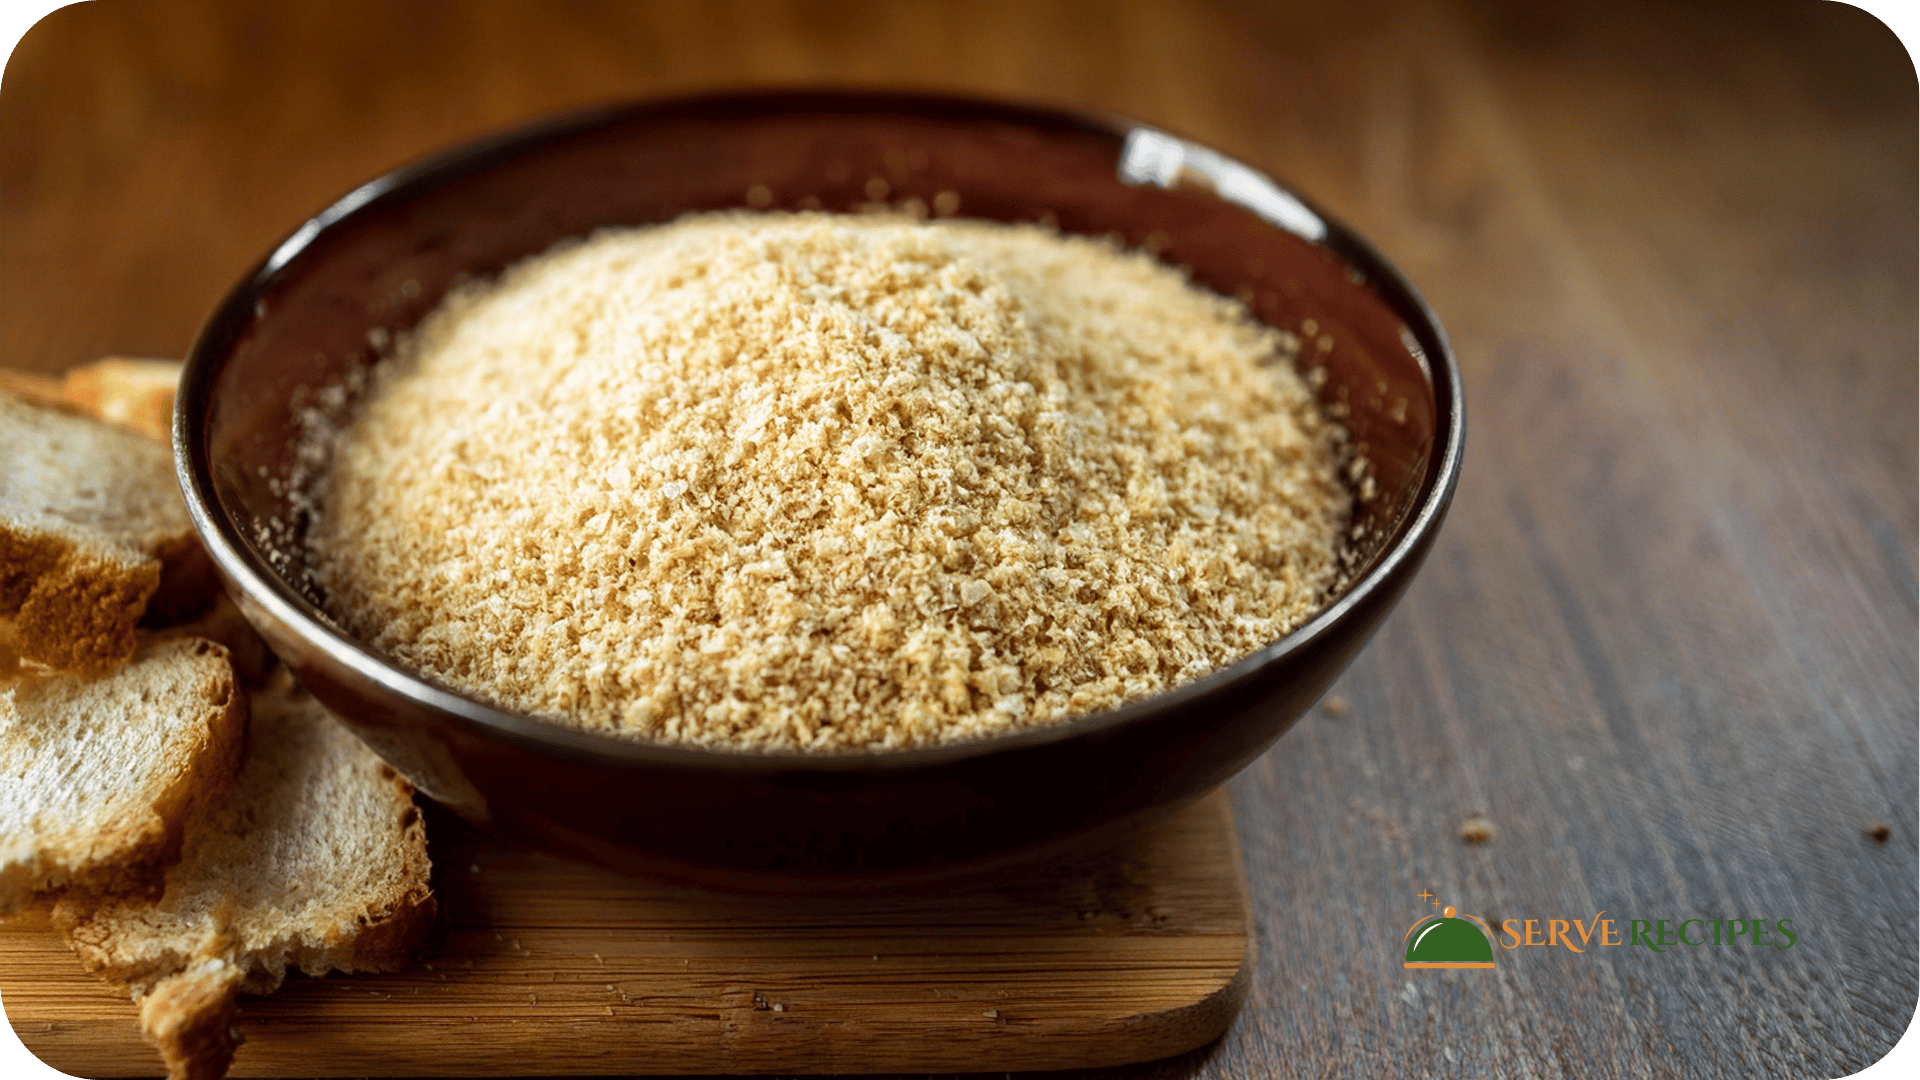
Step 2: Process the Bread
Now, it’s time to break down the bread into crumbs, creating the coarse texture characteristic of panko.
Using a Food Processor:
- Pulse the Bread: Place the bread pieces in your food processor. Pulse a few times until you achieve coarse, flaky crumbs. Avoid over-processing the bread, as you want the crumbs to remain light and airy.
- Check the Texture: The crumbs should be irregular in size, with some slightly larger pieces mixed in. This variation gives panko its distinctive crunch.
Using a Grater:
- Grate the Bread: If you don’t have a food processor, use a box grater. Grate the bread on the side with the largest holes to create coarse crumbs.
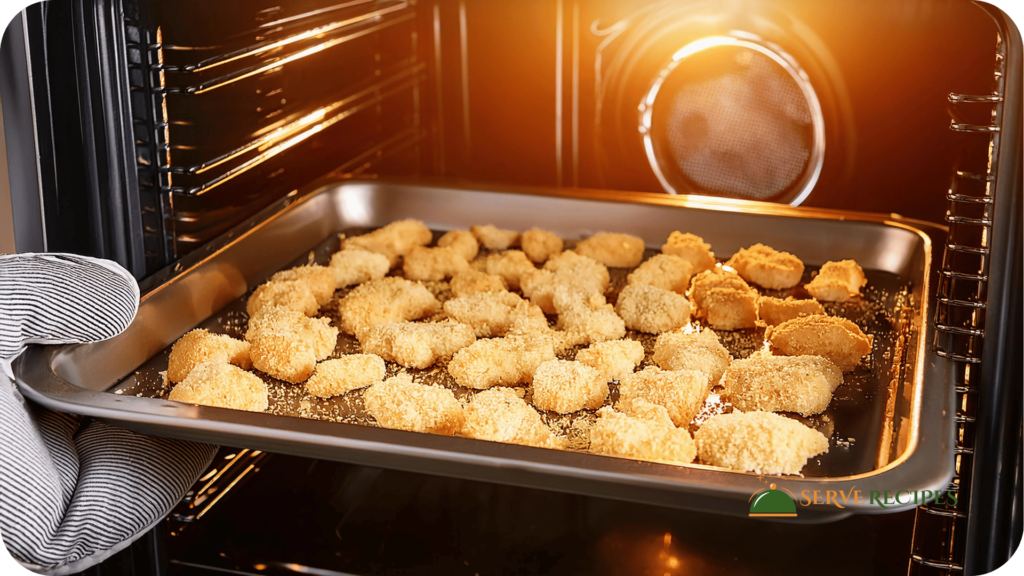
Step 3: Toast the Breadcrumbs
Next, dry out the breadcrumbs in the oven to achieve the crispy texture that makes panko so versatile.
How to Toast:
- Preheat Your Oven: Set your oven to 300°F (150°C). A low temperature will dry out the bread without browning it too much.
- Spread the Crumbs on a Baking Sheet: Evenly spread the breadcrumbs on a large baking sheet. Ensure they’re in a single layer to allow even drying.
- Bake Until Dry: Bake the crumbs for 10–15 minutes, stirring occasionally. The breadcrumbs should become dry and crisp, but not brown. If they start to brown, lower the oven temperature.
- Cool Completely: After the breadcrumbs are dry, remove them from the oven and let them cool completely before storing or using them in recipes.
Step 4: Store the Breadcrumbs
Proper storage is key to keeping your homemade panko breadcrumbs fresh.
Storage Tips:
- Airtight Container: Transfer the cooled breadcrumbs to an airtight container to keep them crisp and prevent moisture absorption.
- Shelf Life: Store the container in a cool, dry place. Homemade panko breadcrumbs can last for up to two weeks at room temperature. For longer storage, freeze the breadcrumbs for up to three months.
Step 5: Use Your Homemade Panko in Delicious Recipes
Now that you’ve made your panko breadcrumbs, it’s time to use them! Here are some delicious ideas:
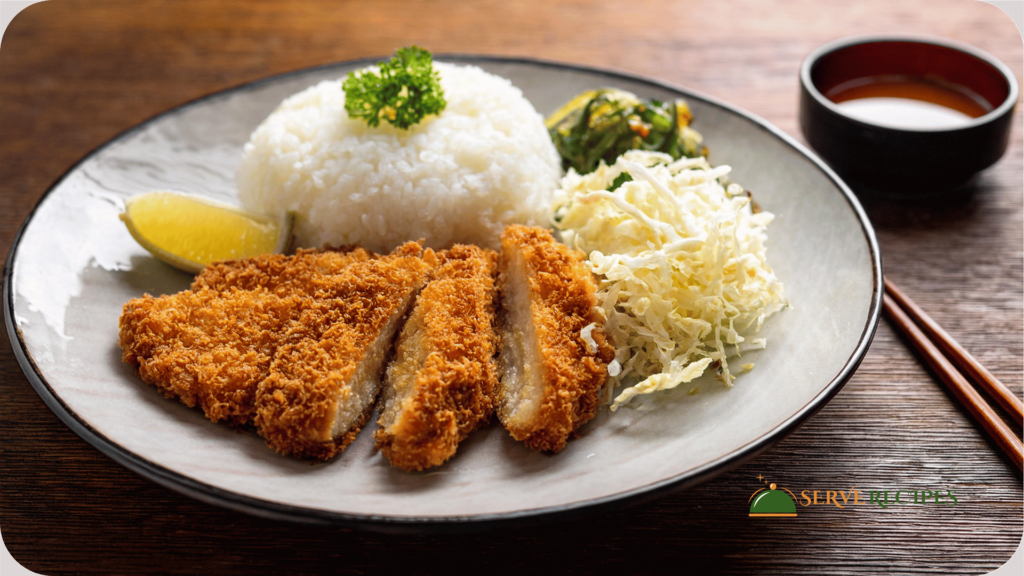
- Chicken Katsu: Use your homemade panko to make the perfect crispy coating for Chicken Katsu. Simply dredge chicken breasts in flour, dip them in beaten eggs, and coat them with your fresh panko breadcrumbs before frying. For more details, check out our Chicken Katsu Recipe.
- Crispy Chicken and Fish: Use your homemade panko to coat chicken or fish before frying or baking for a crunchy, golden crust. For more inspiration.
- Casserole Toppings: Sprinkle panko over your favorite casseroles for a satisfying crunchy topping. Try it on a classic macaroni and cheese for an added texture.
- Vegetable Garnishes: Lightly toast panko in olive oil and sprinkle it over roasted vegetables for a bit of extra crunch.
Conclusion
Making homemade panko breadcrumbs is an easy and rewarding process that offers fresher, healthier results than store-bought options. With just a few simple steps, you can create panko breadcrumbs that elevate your cooking, adding the perfect crunch to a variety of dishes.
By controlling the ingredients and preparation process, you ensure that your panko breadcrumbs are free from unnecessary additives and tailored to your taste. So the next time you need breadcrumbs for a recipe, consider making them yourself—you’ll be amazed at the difference it makes!
For more tips and recipes, check out our Homemade Cooking Guides on our blog!